Compufire voltage regulator installation
(Aprilia Tuono V4 R 1000 APRC year 2013)
Excellent link for Compufire voltage regulator and stator issues:
Instructions how to remove front fairing (great video).
Instructions how to remove front fairing (great video).
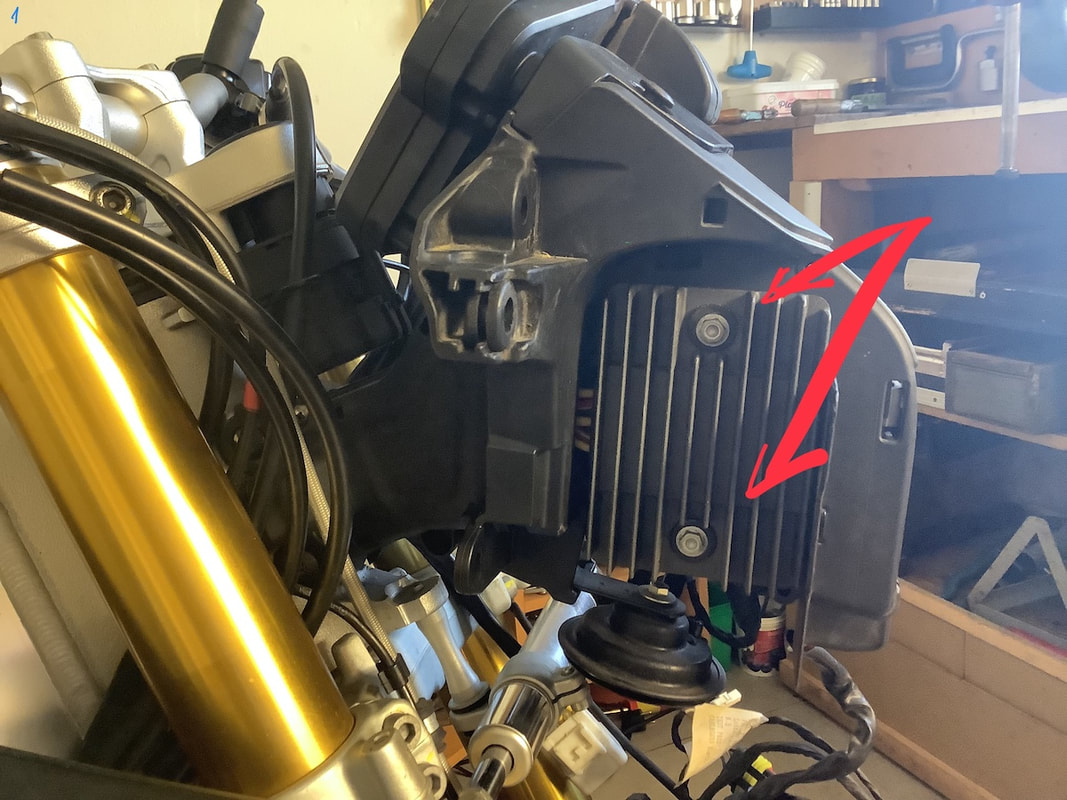
Remove two bolts on OEM voltage regulator.
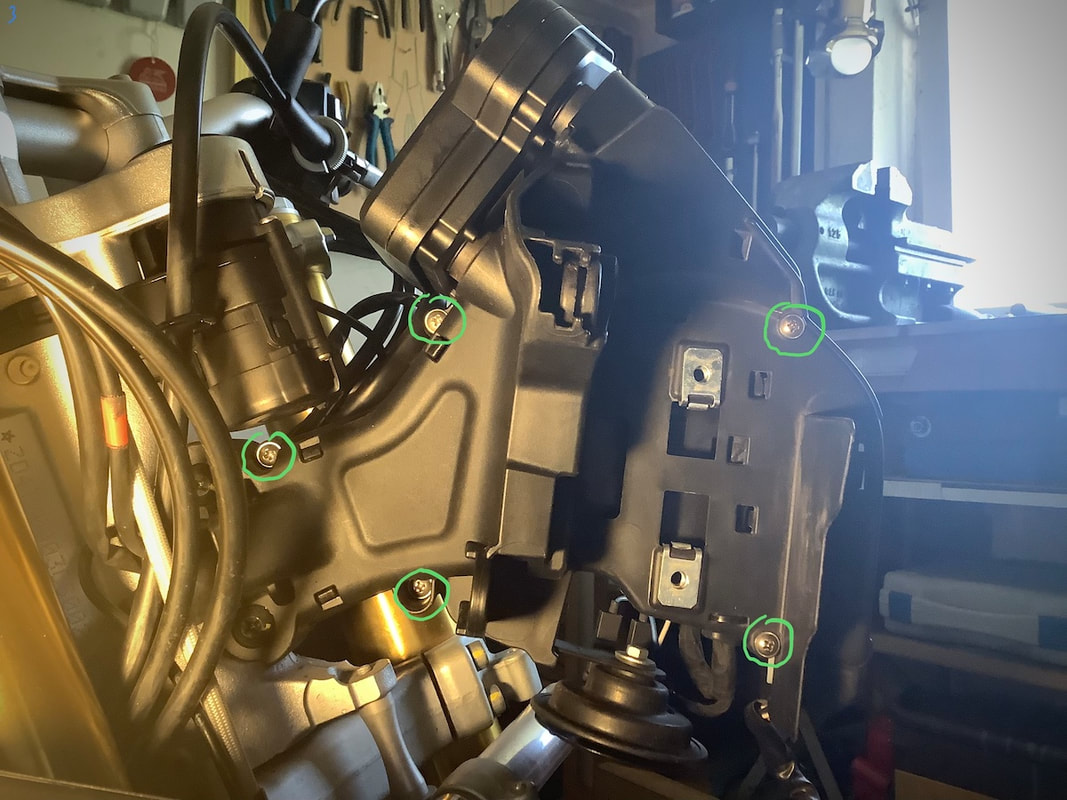
Remove 5 marked screws on the right side.
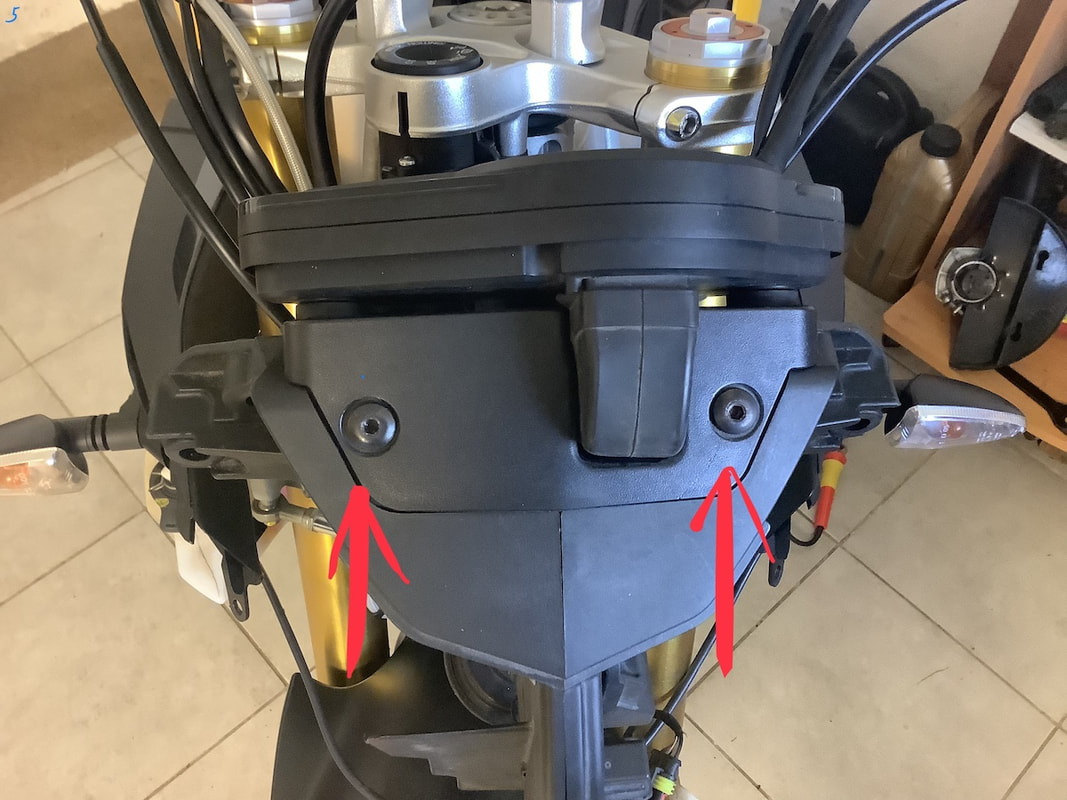
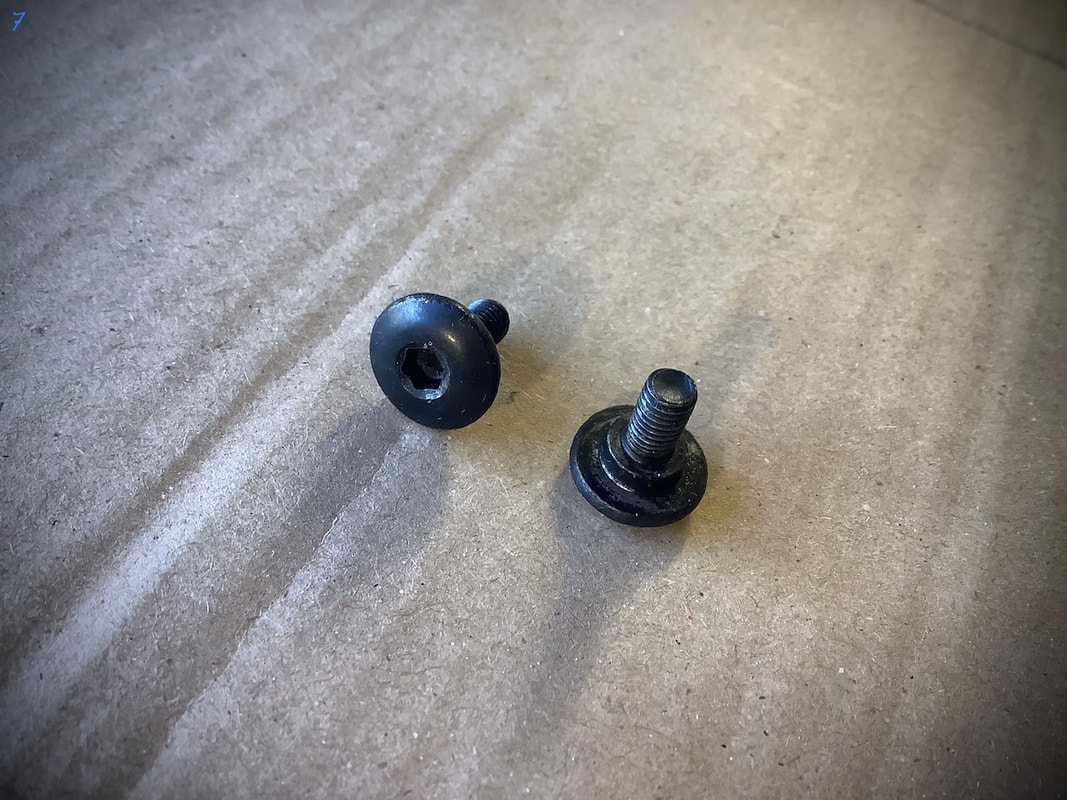
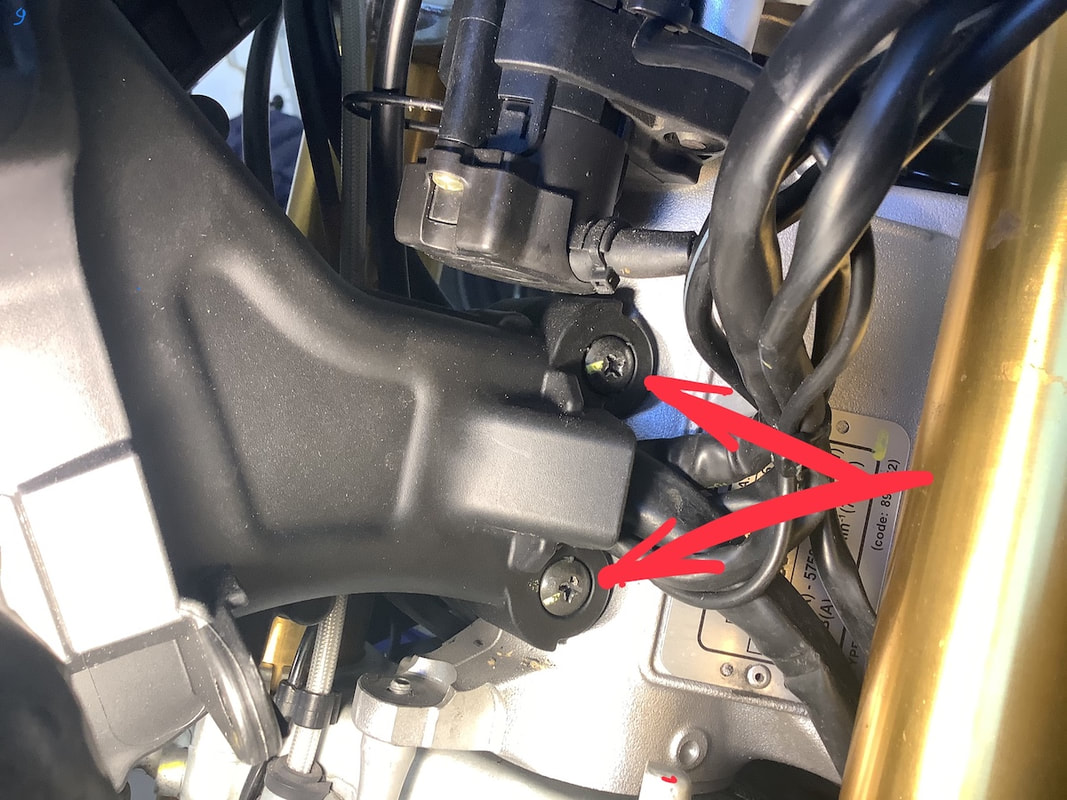
Remove 2 marked hex bolts.
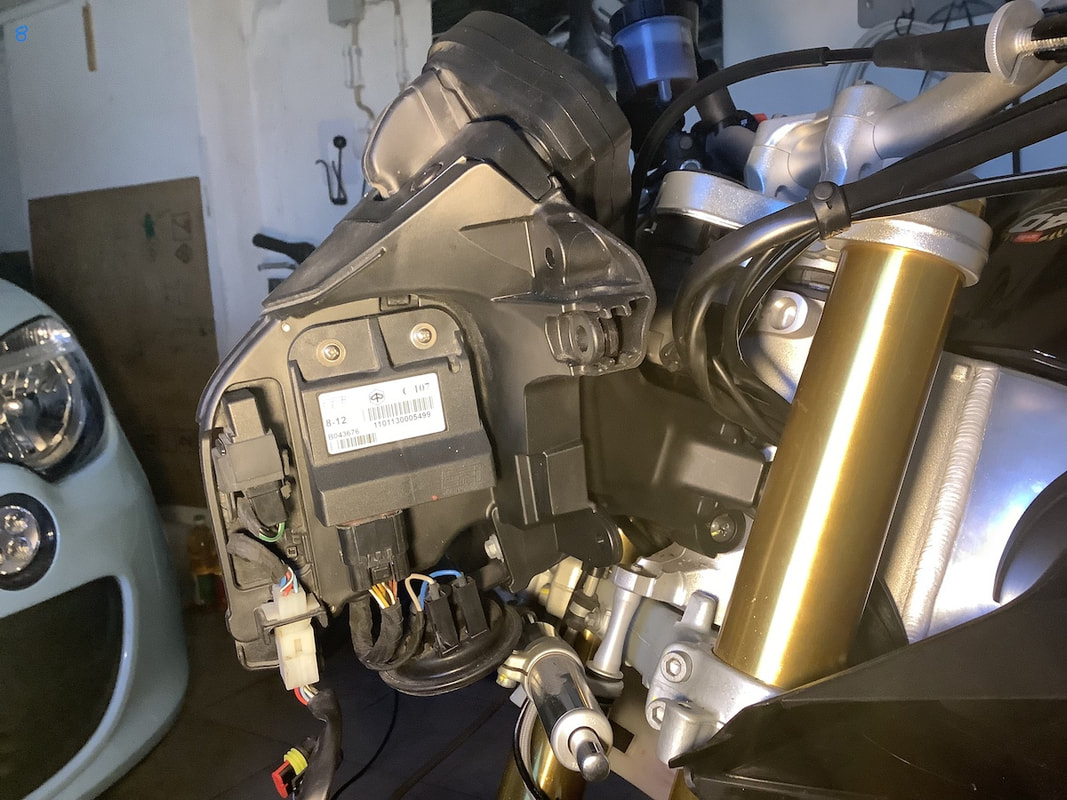
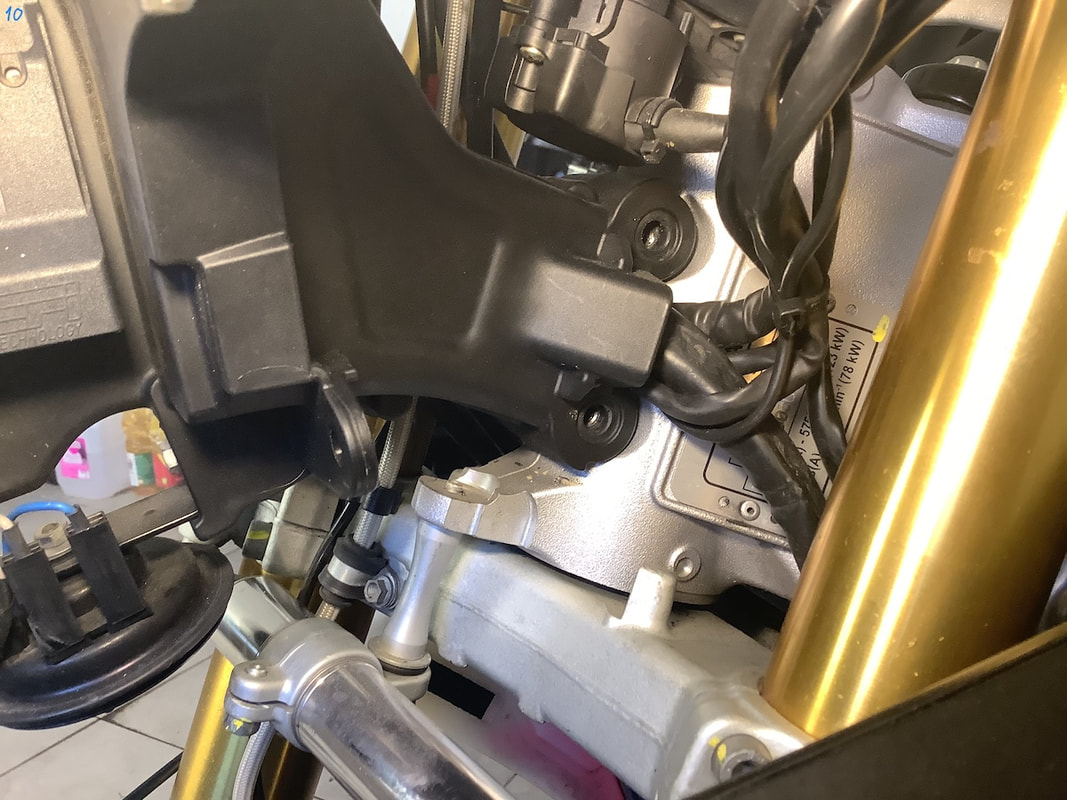
View from right side.
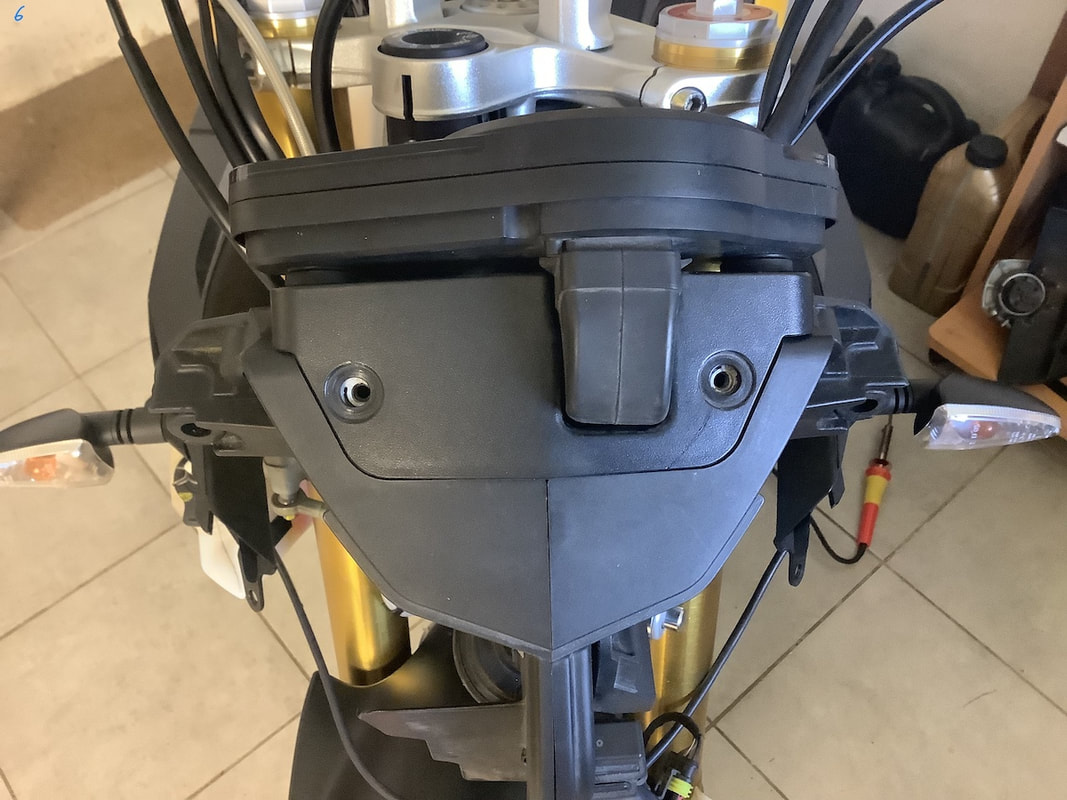
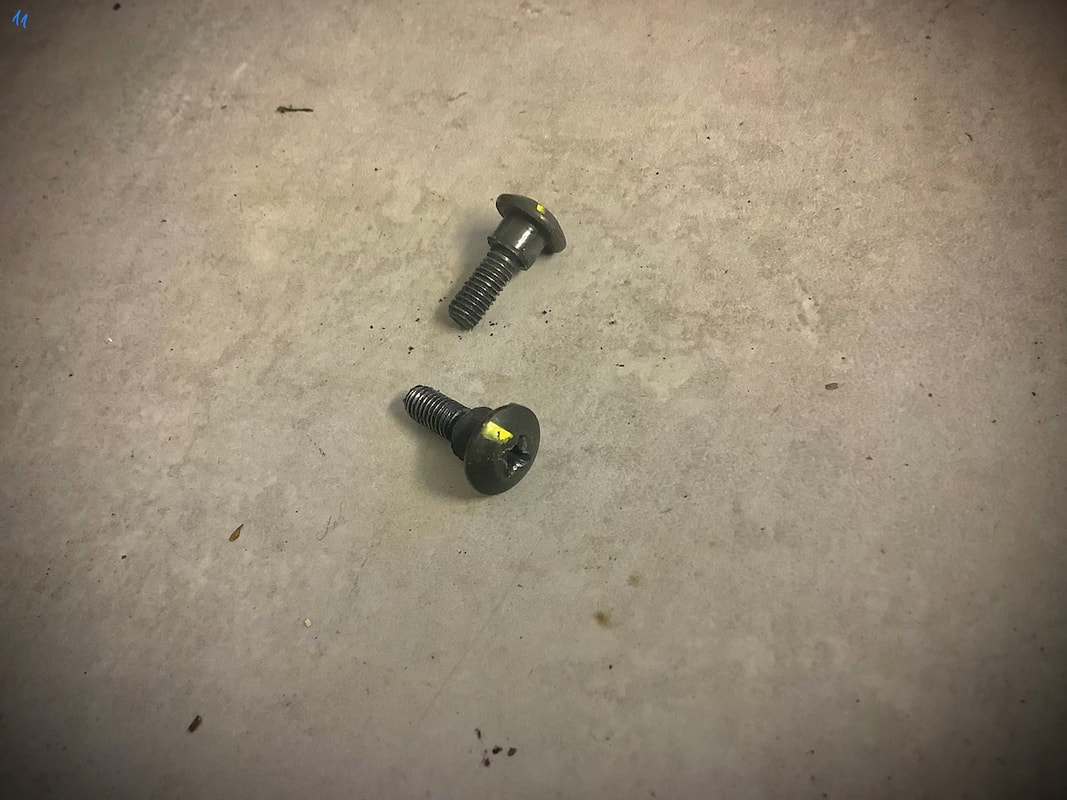
Remove these 2 screws.
Now you can remove upper and right part of instrument panel.
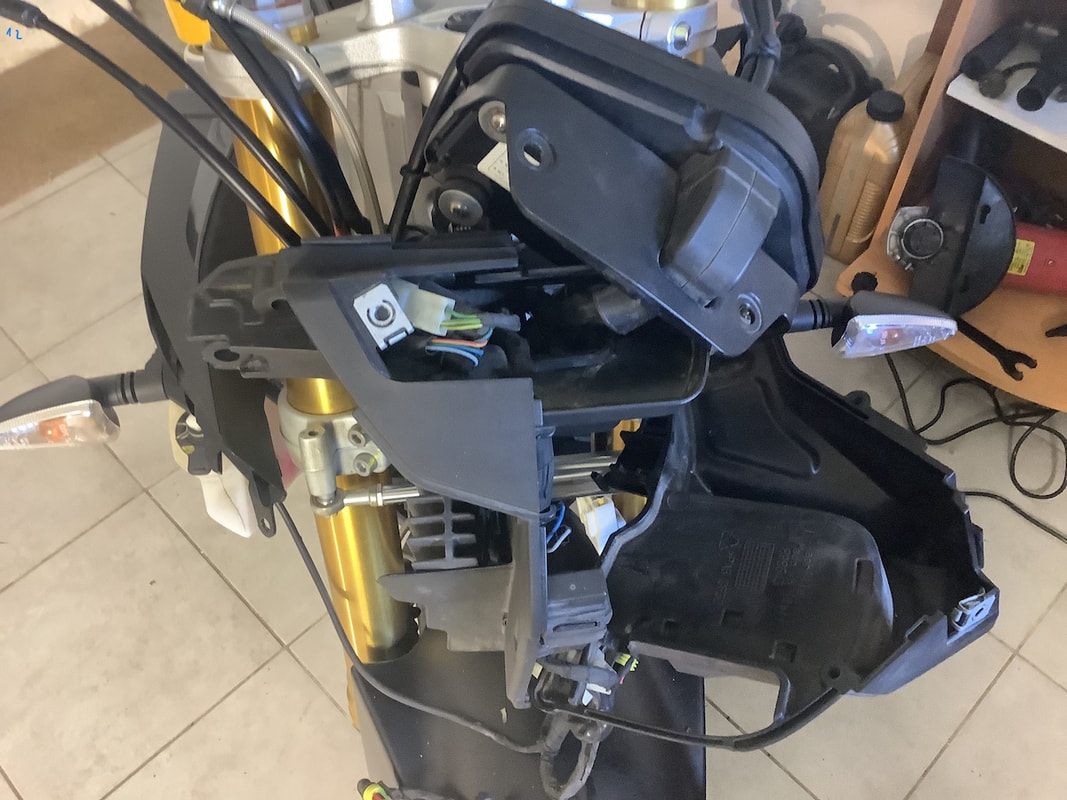
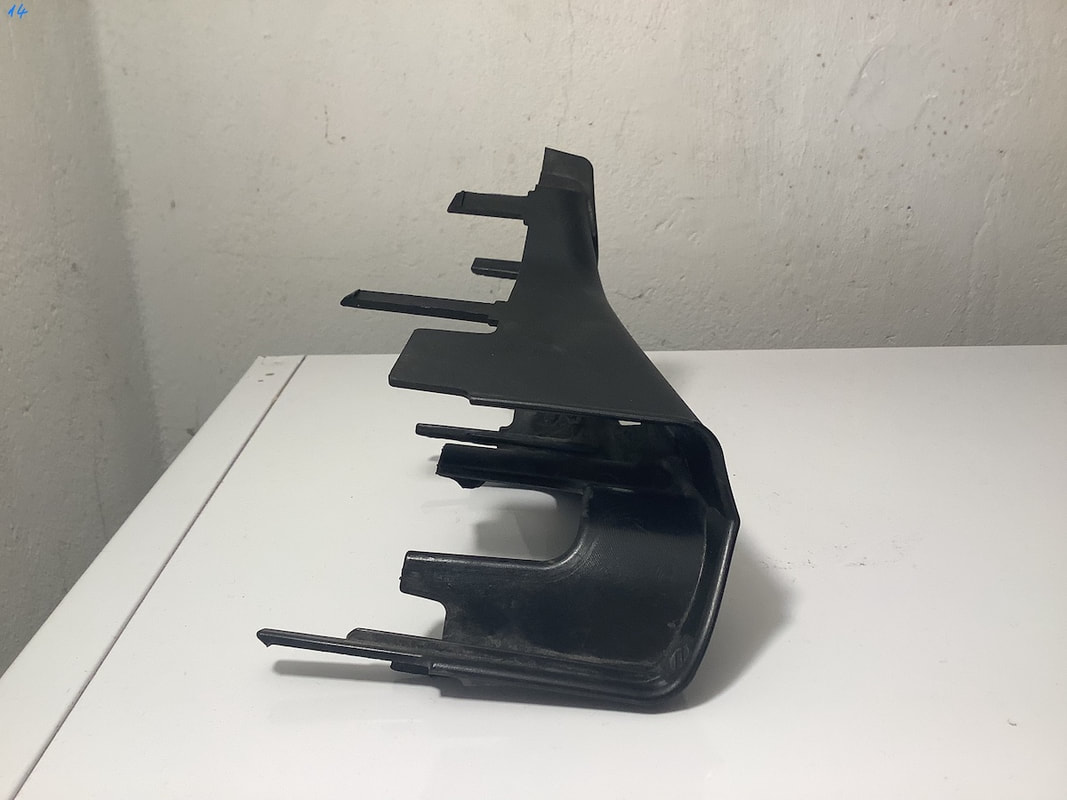
Next unclip this plastic cover.
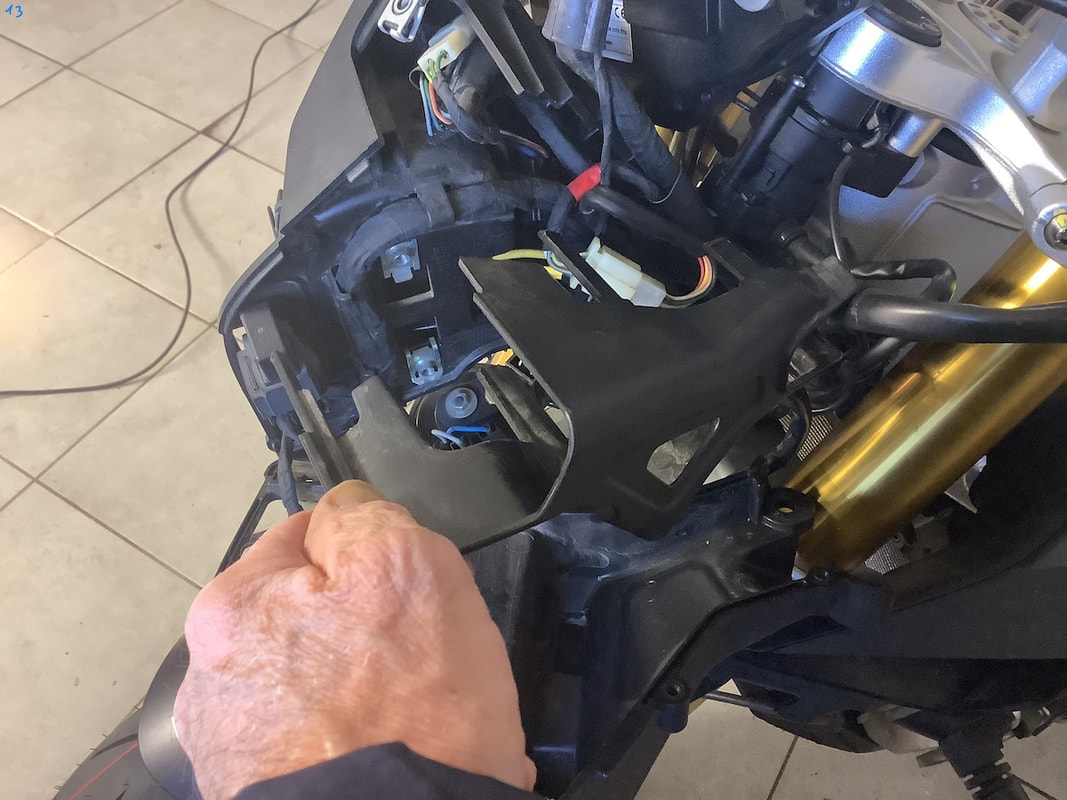
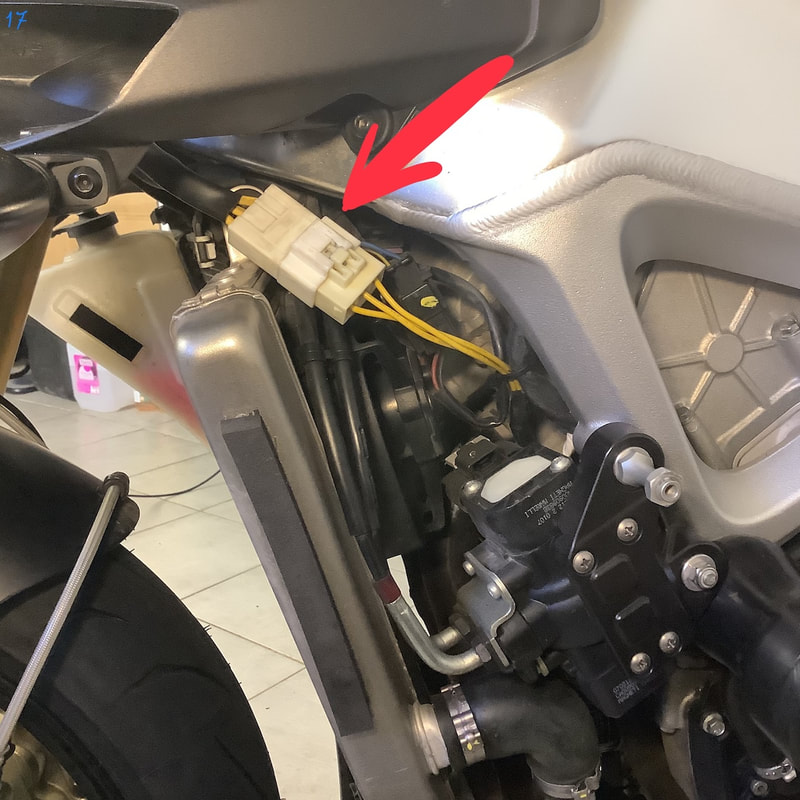
And now you can access regulator connector. Unplug it.
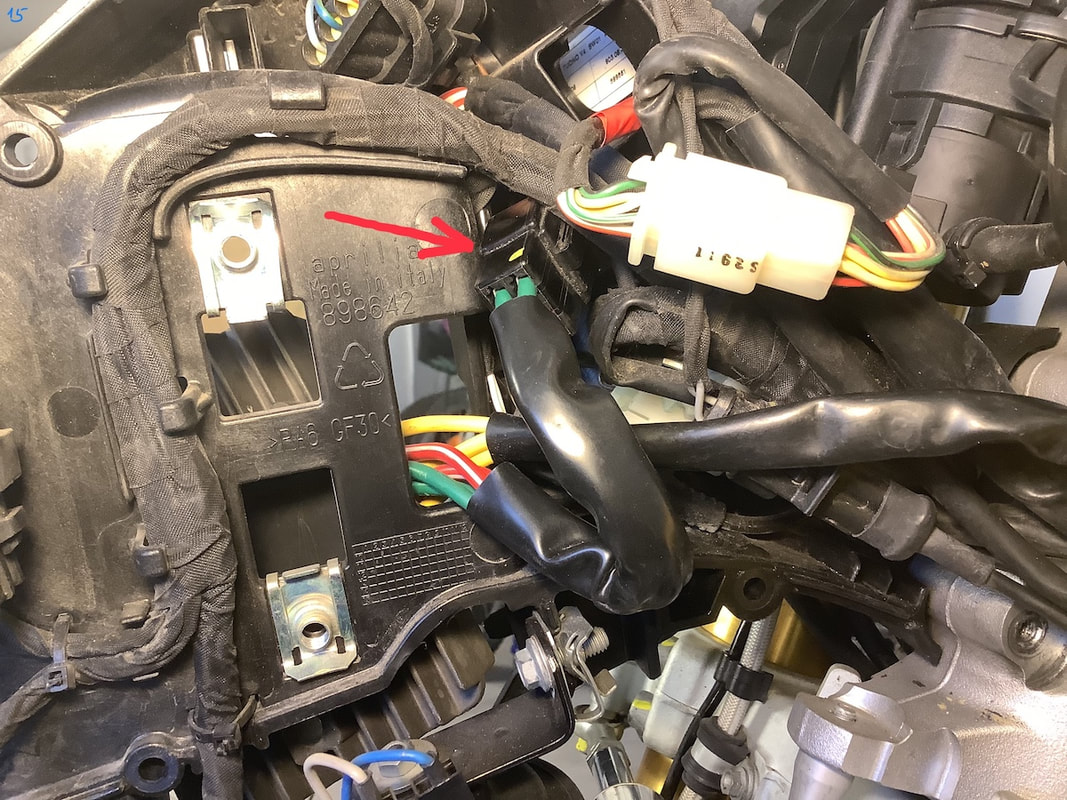
Female connector, marked with orange square, stays as it is unpluged.
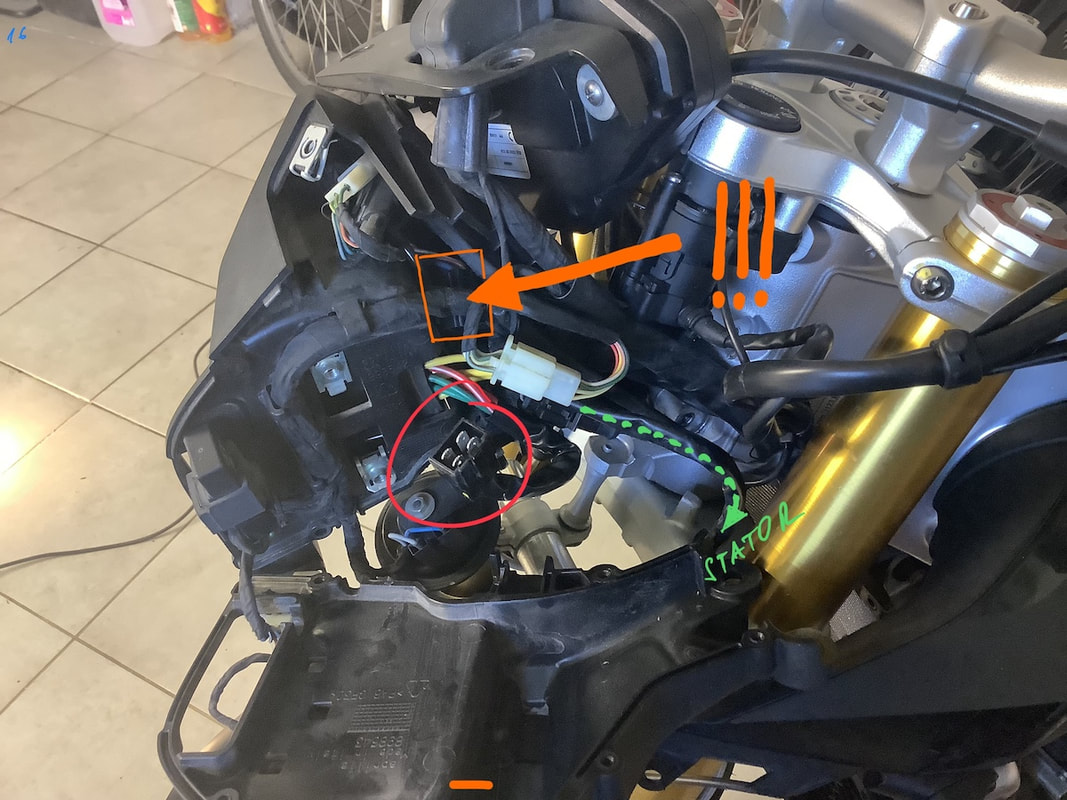
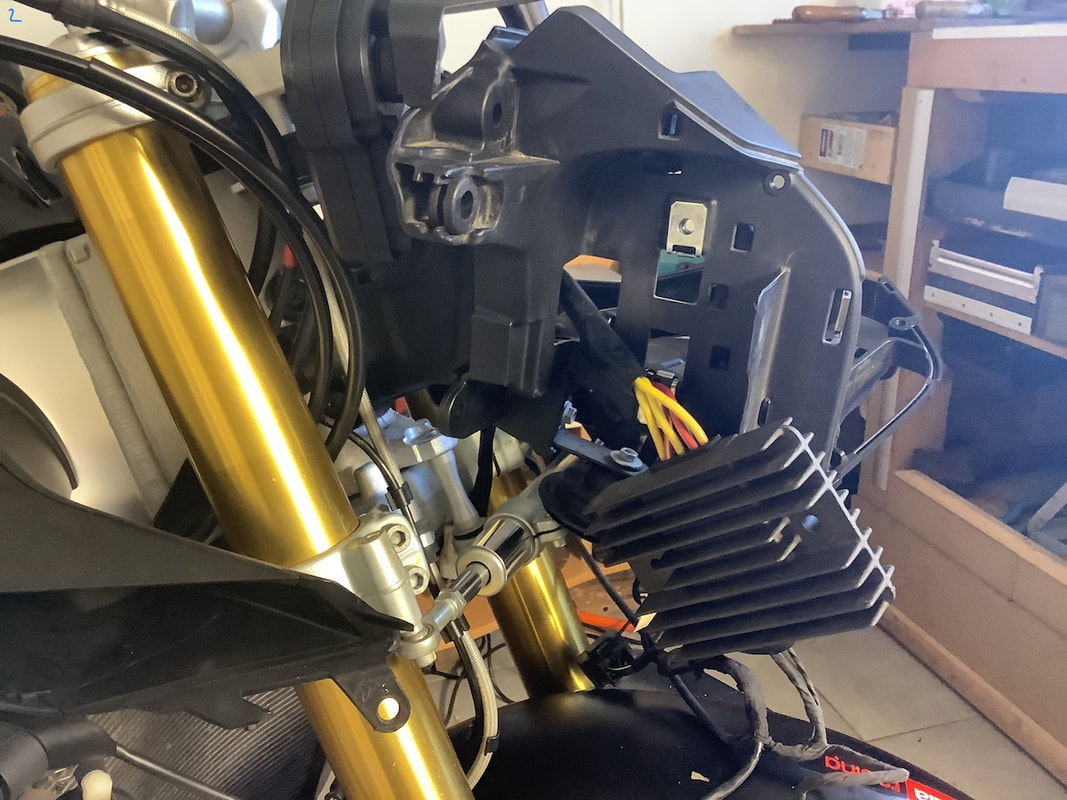
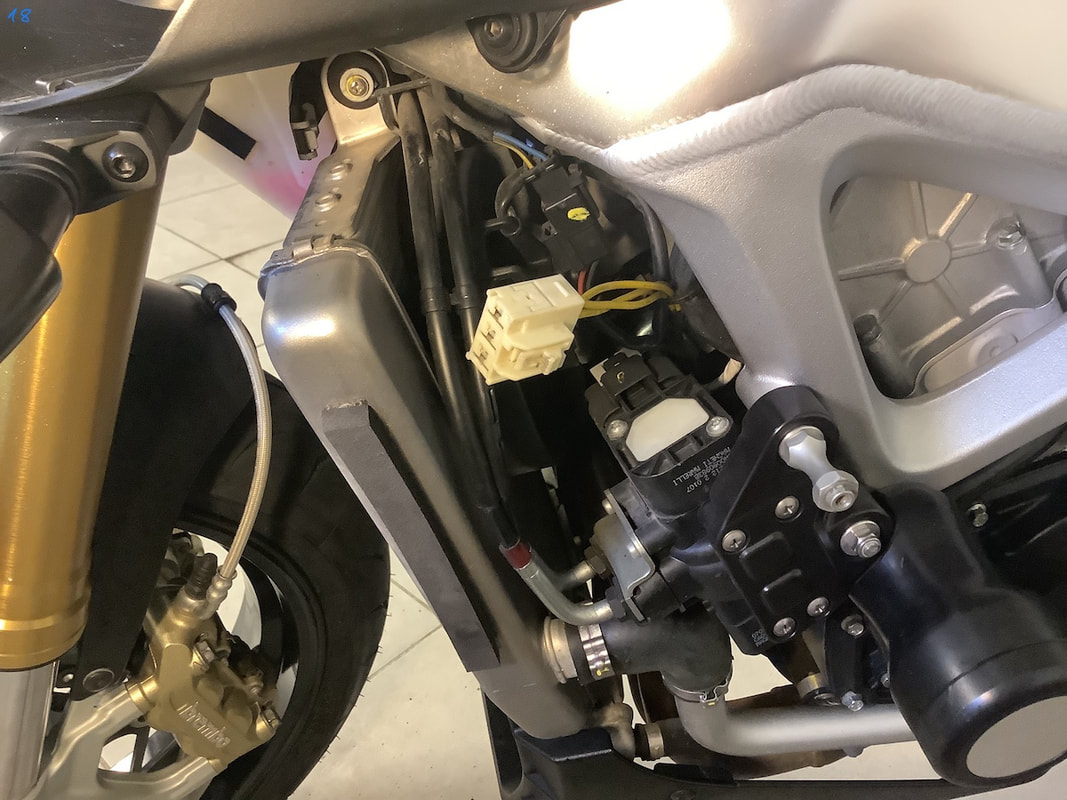
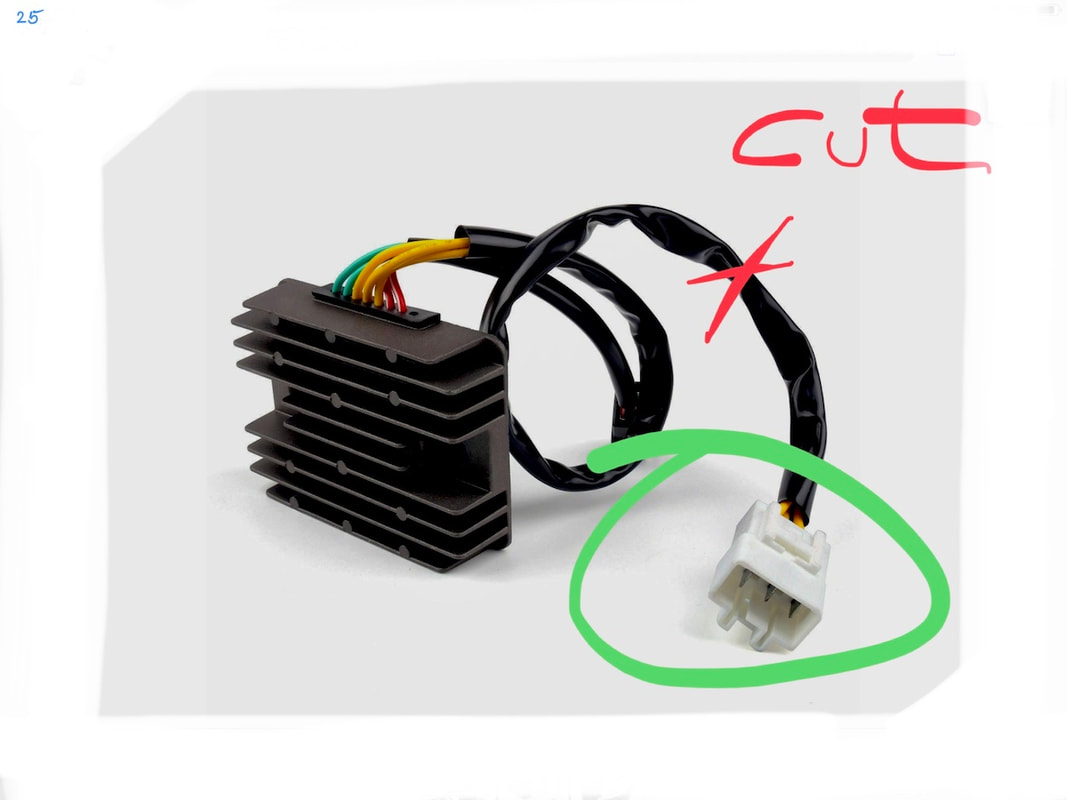
Next unplug regulator connector that goes to the stator. Now you can remove OEM voltage regulator.
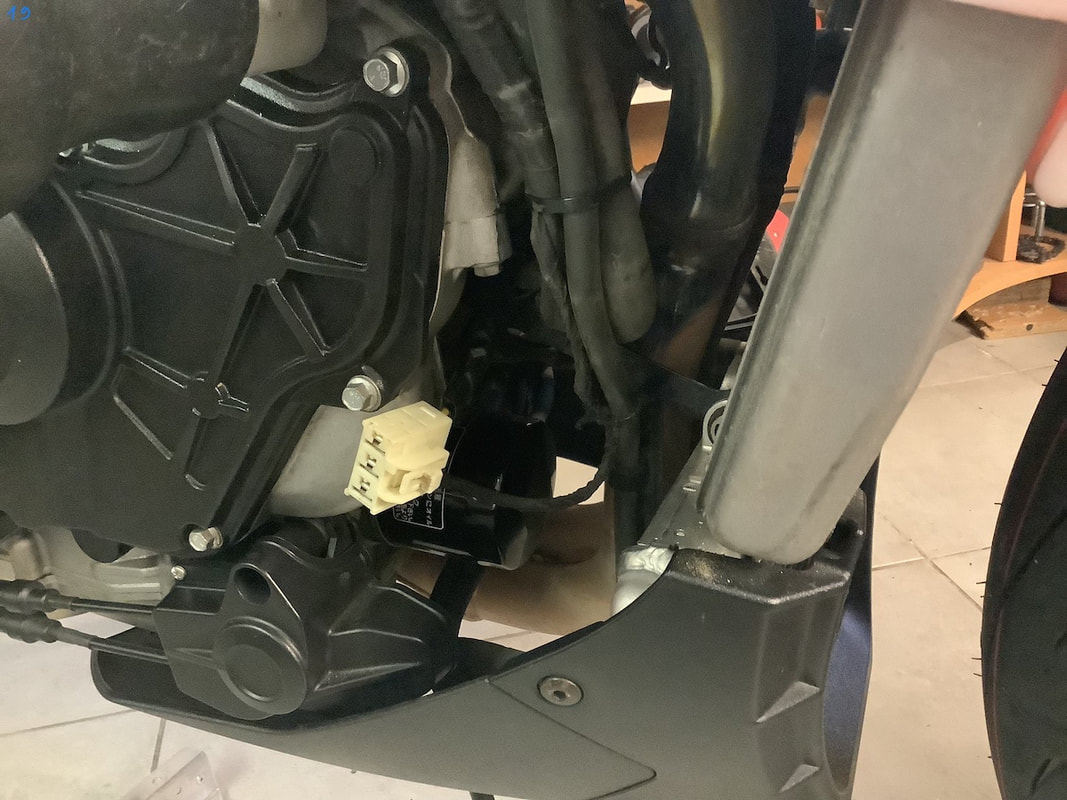
Root cable with stator female connector on the right side. Be aware - the cable must be away of the exhaust pipe and fixed with zip tight.
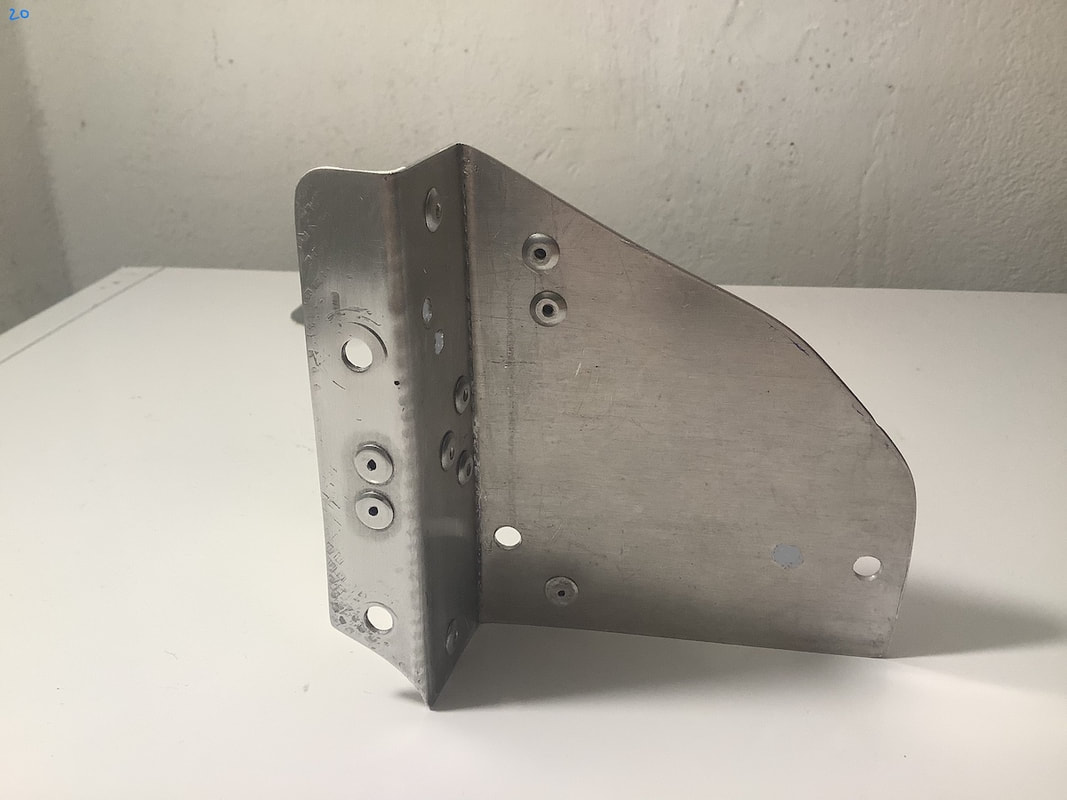
I made bracket from aluminium sheet. Dimensions of bracket are shown below.
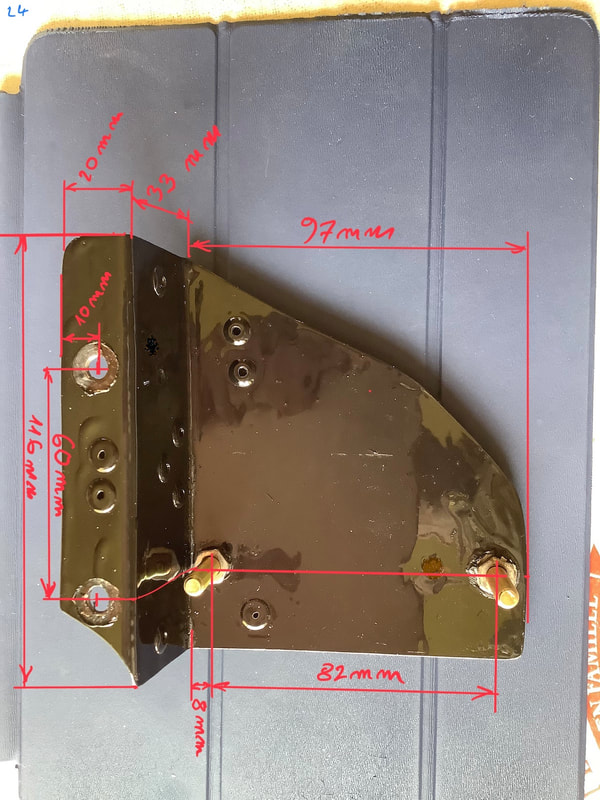
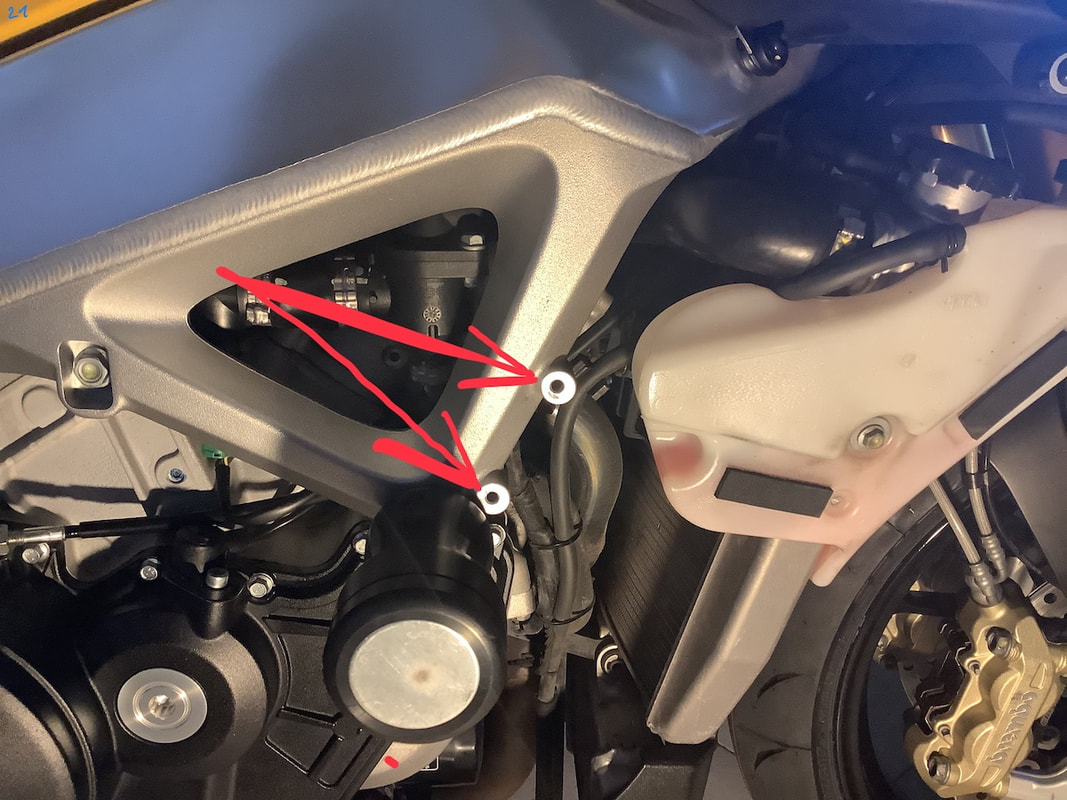
Mount this bracket to marked positions on the frame.
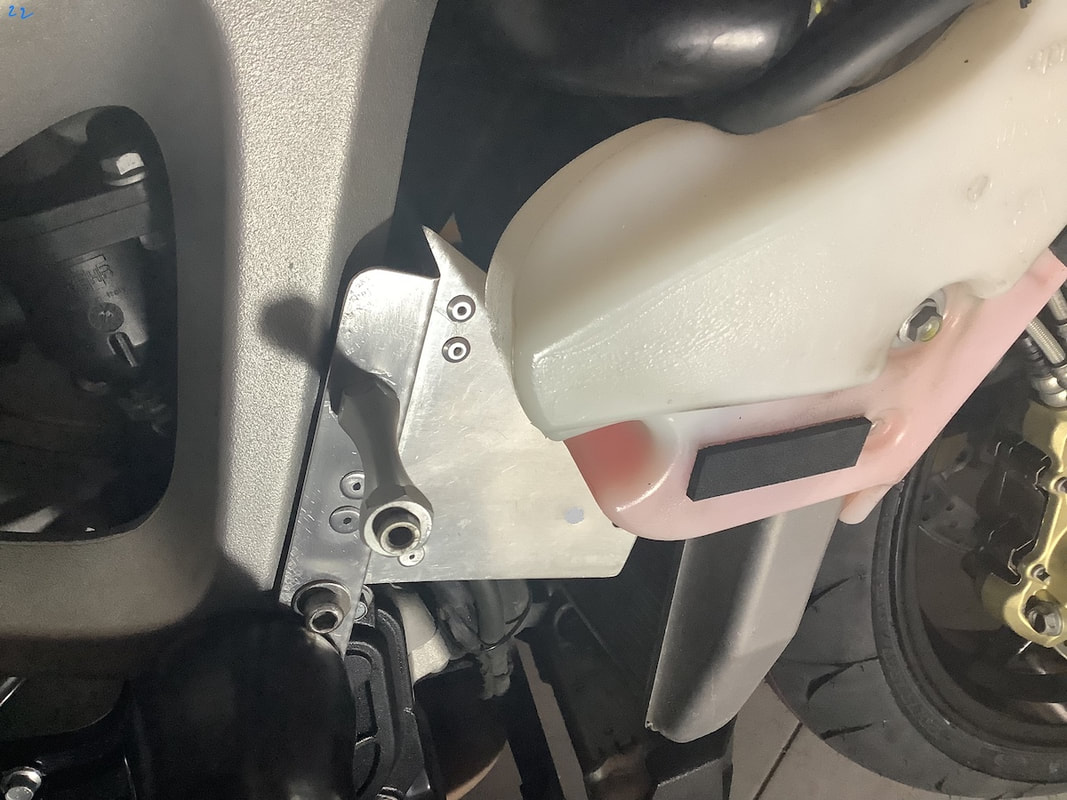
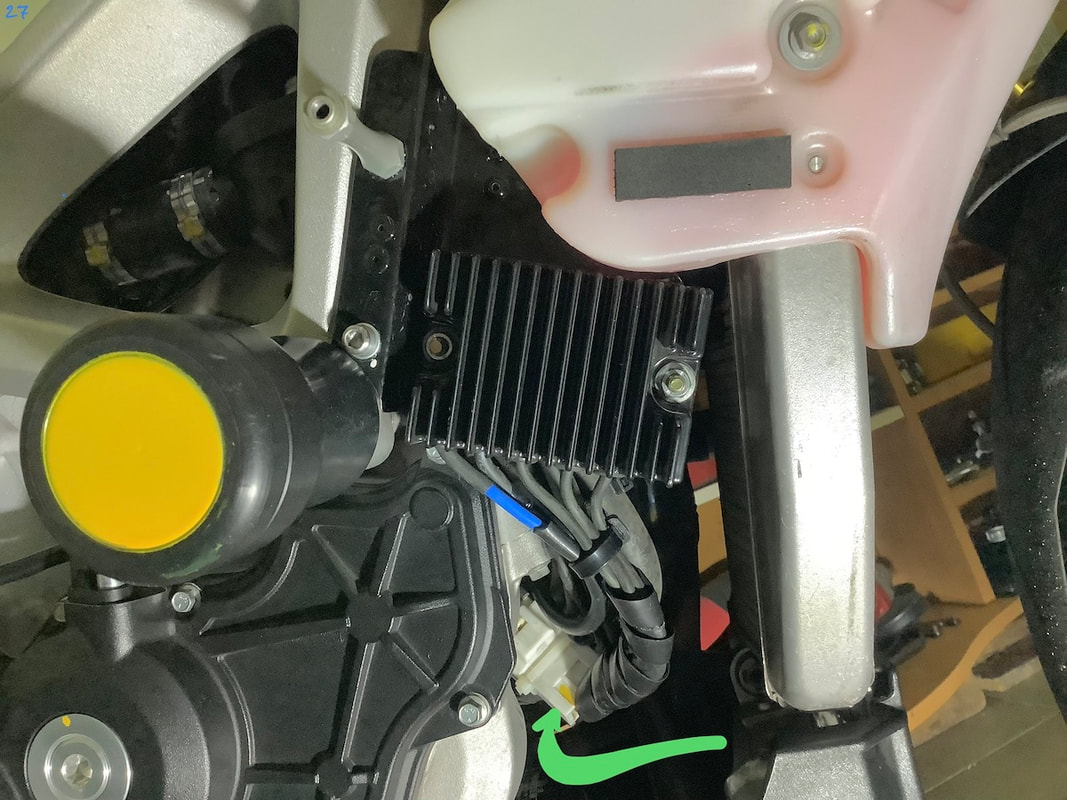
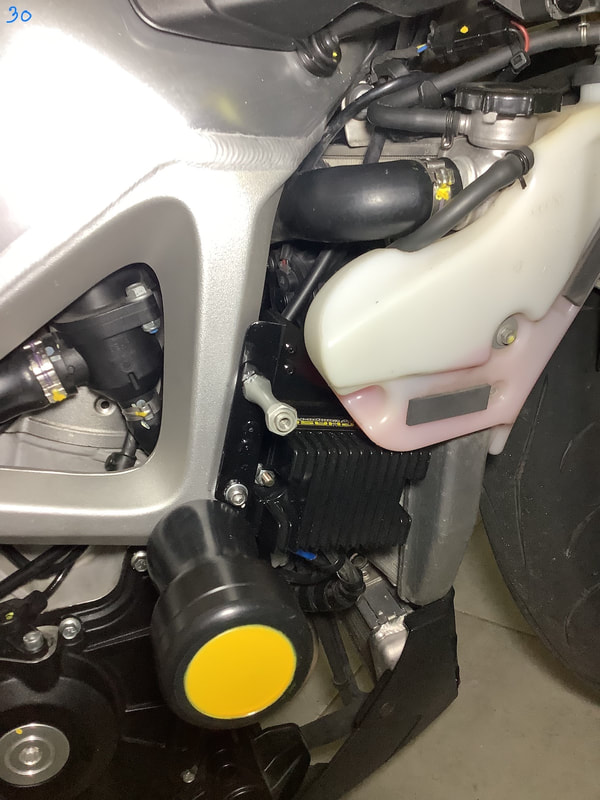
Provisional mounting of Compufire regulator to see the clearances to expansion tank and coolant radiator.
Stator connector from Compufire is not compatible with OEM connector. This is why I cut stator connector from OEM regulator to replace original Compufire stator connector (see photo 26) with it. All 3 wires must be soldered and promptly isolated.
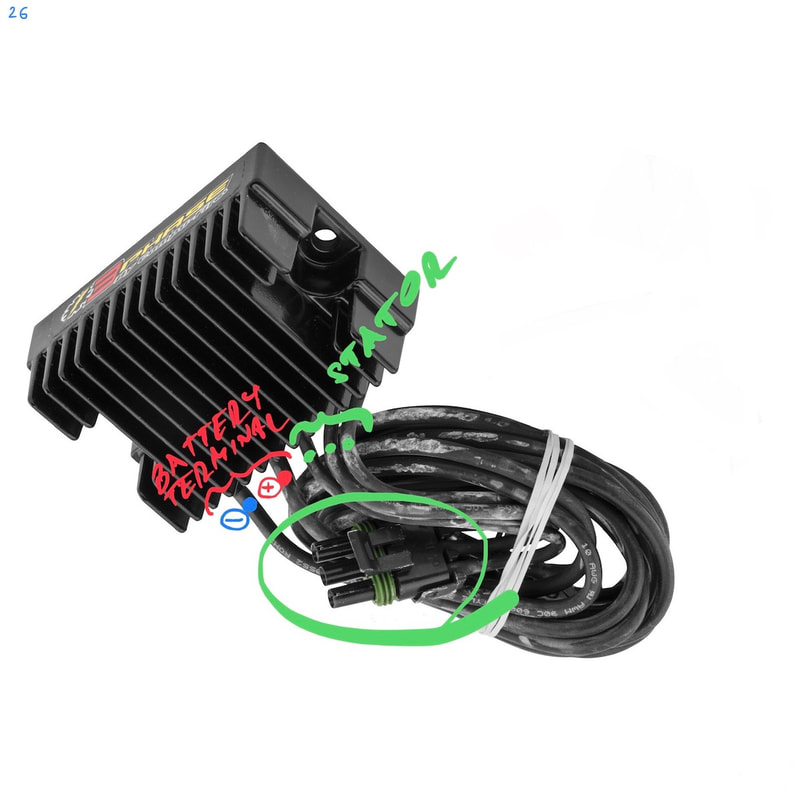
Plug Compufire to the stator connector.
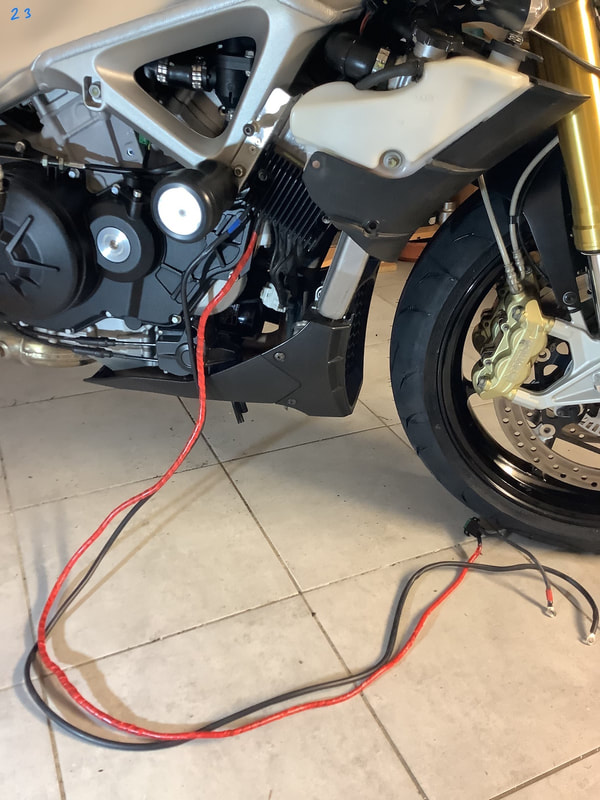
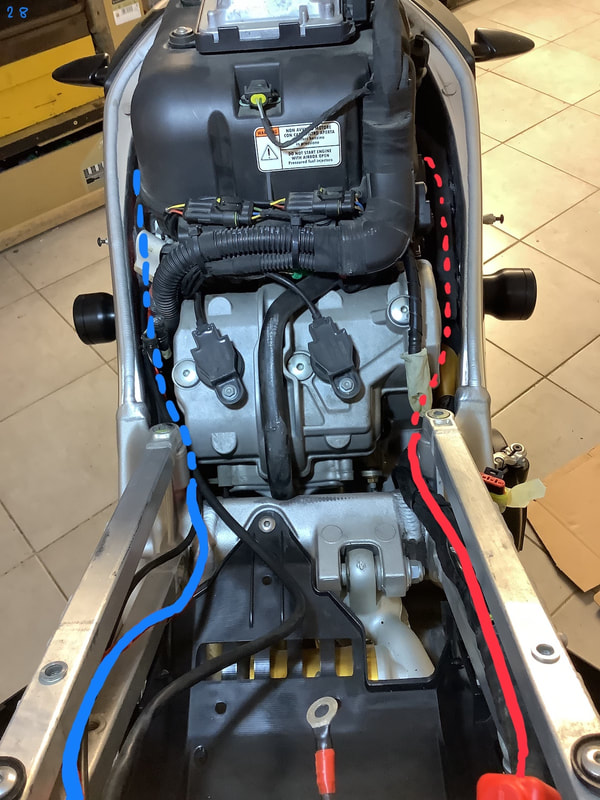
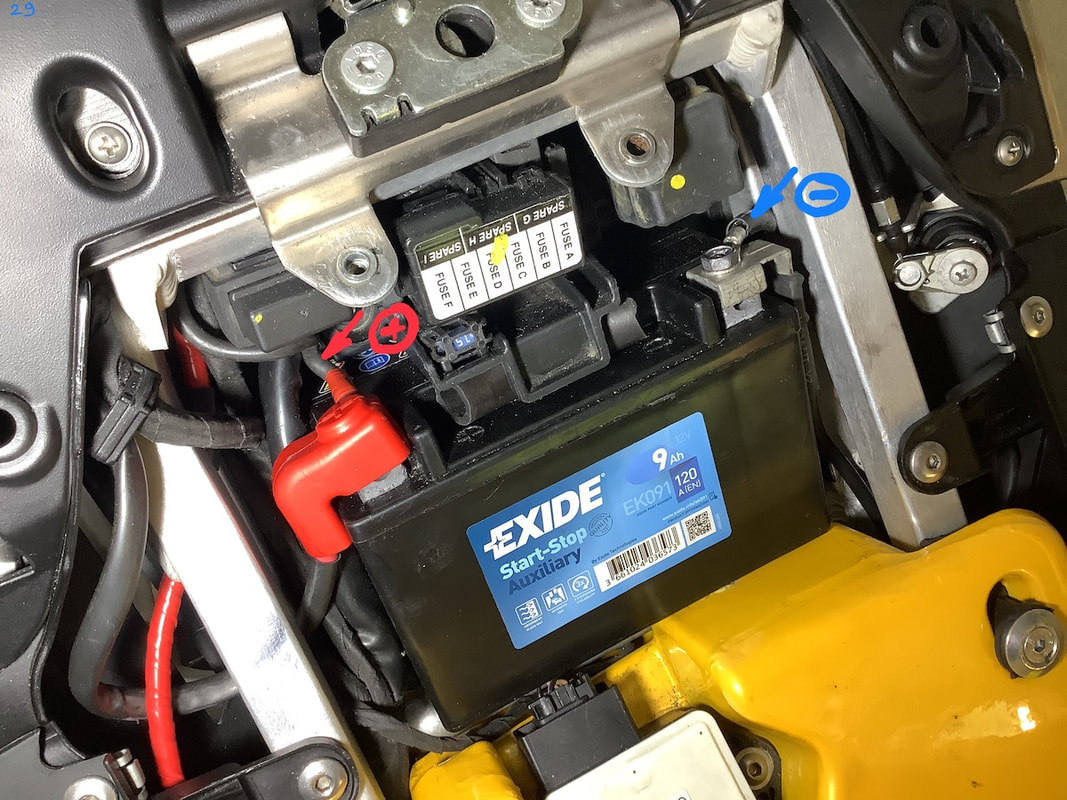
Ground cable (blue) must be routed on the left side and close to the frame to the battery negative terminal. Hot wire (red) I routed on the right side close to existing harness. Before covering with fuel tank you have to check all clearances, specially the place where saddle support is fixed to the frame !!!
Both cables from Compufire are connected to the battery terminals.
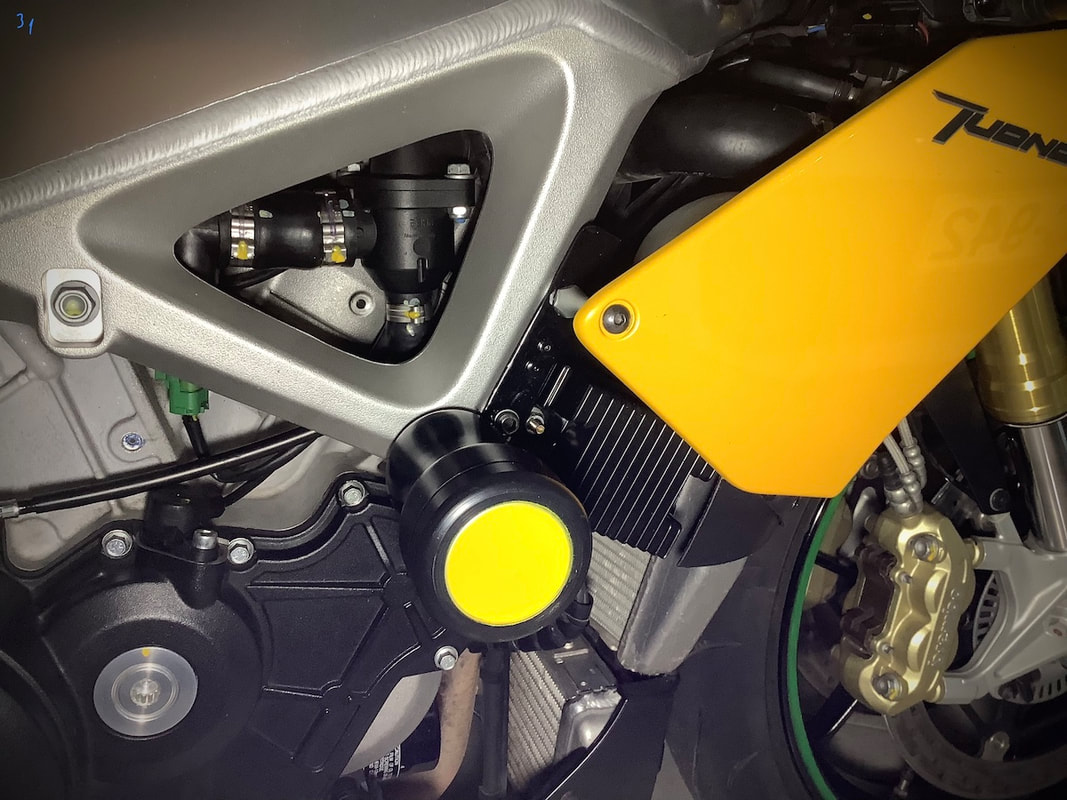
View before mounting lateral fairing.
New Compufire voltage regulator works as expected without any problems!
😁 👍
